If you prefer running the OpenVPN app instead of our Windows VPN Client, here’s what you need to do:
Step One — Installing OpenVPN on your machine
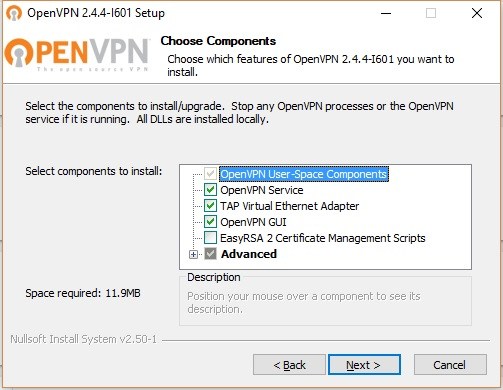
OpenVPN can be downloaded from the official site: https://openvpn.net/index.php/open-source/downloads.html . Make sure to download the Windows installer, as it can be seen in the picture below.

Install the freshly downloaded OpenVPN setup file. Click “Next” through the setup. The default settings are fine.
Step Two — Download our VPN config files
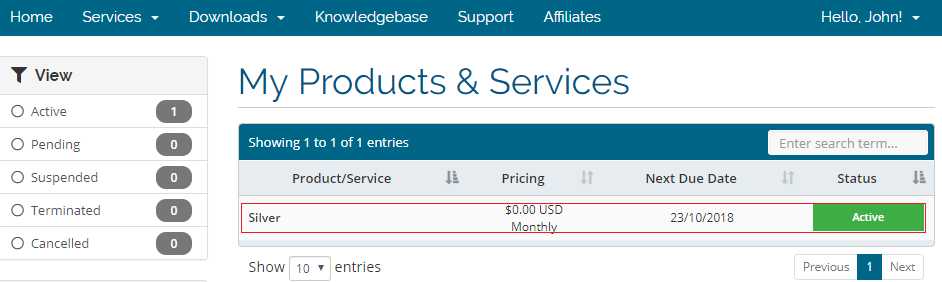
Go to your Services pages. You can use this link. Select an active vpn subscription.
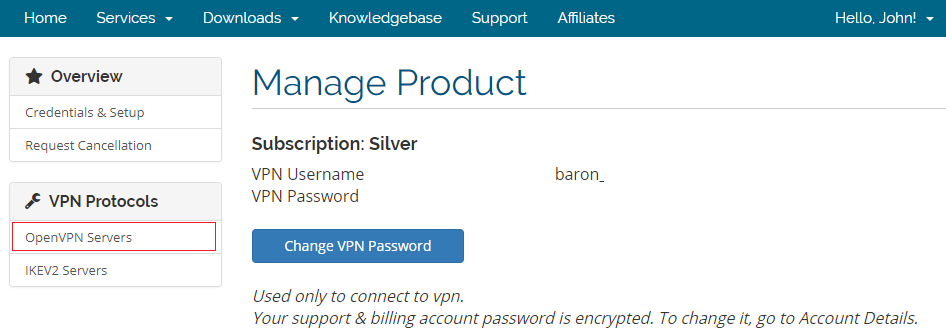
Click on “OpenVPN” button under VPN Protocols. This will open the OpenVPN Config generator.
Download the “.ovpn” files by clicking on the download button. You can select the server location and the protocol you want to use: UDP or TCP.
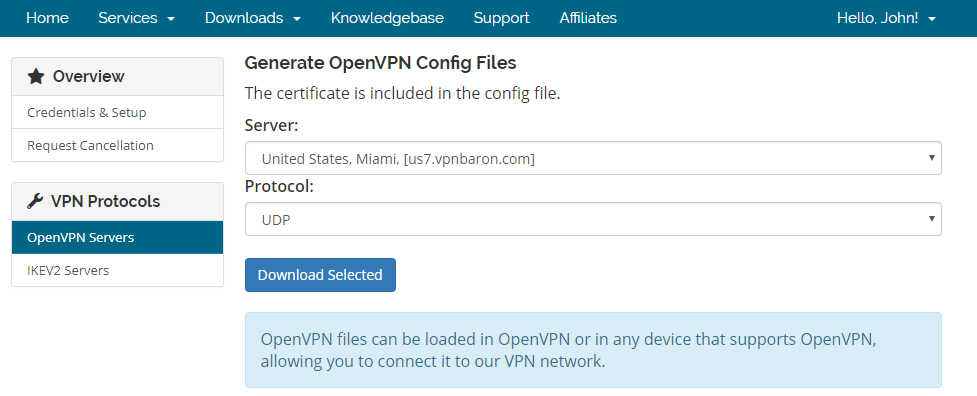
Select the location you want to connect to and click on the download button. We recommend downloading multiple locations.
Step Three — Add the config files to OpenVPN
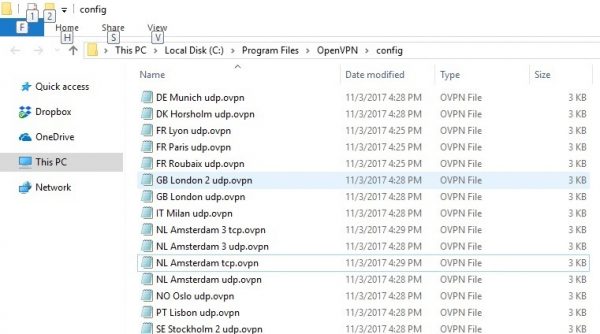
Place the downloaded server config files in the OpenVPN config folder. Depending on you system, it should be located at c:\Program Files (x86)\OpenVPN\config\ or C:\Program Files\OpenVPN\config
Run OpenVPNGUI from desktop. Go to the tray icon and right click it.
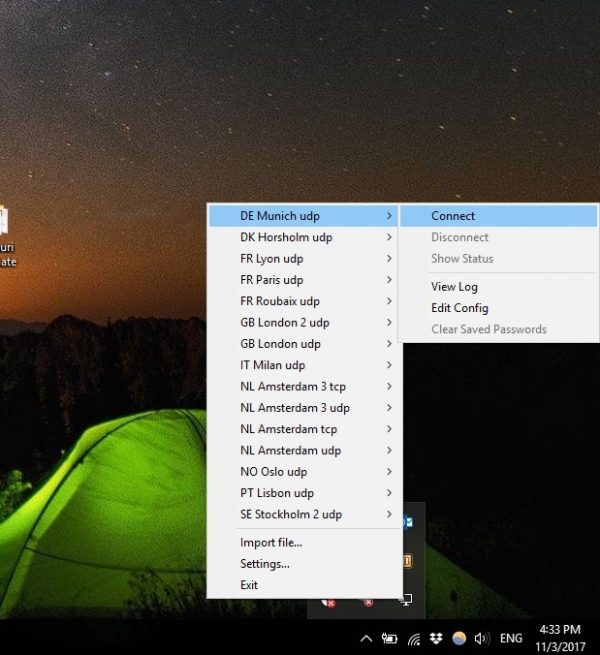
Select the server location you wish to connect to and insert your username and password.
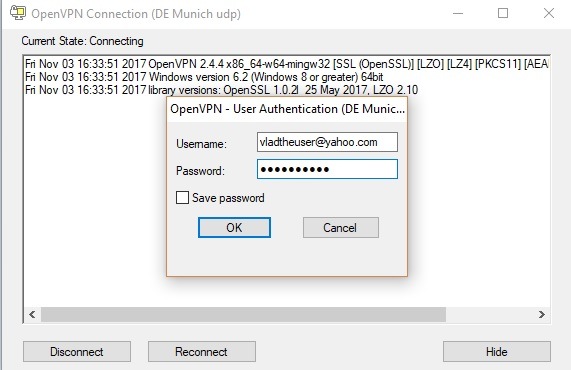
DONE! Now you should be connected to the VPN server you selected.