
How to use a VPN on Ubuntu 24.04: 3 ways
Three ways to put Ubuntu 24.04 on a VPN, the VPNBaron app, Ubuntu's own Settings with OpenVPN, or the terminal with VPNBaron CLI, and which one to pick.
By the VPNBaron team · Updated 2 October 2026 · 3 min read
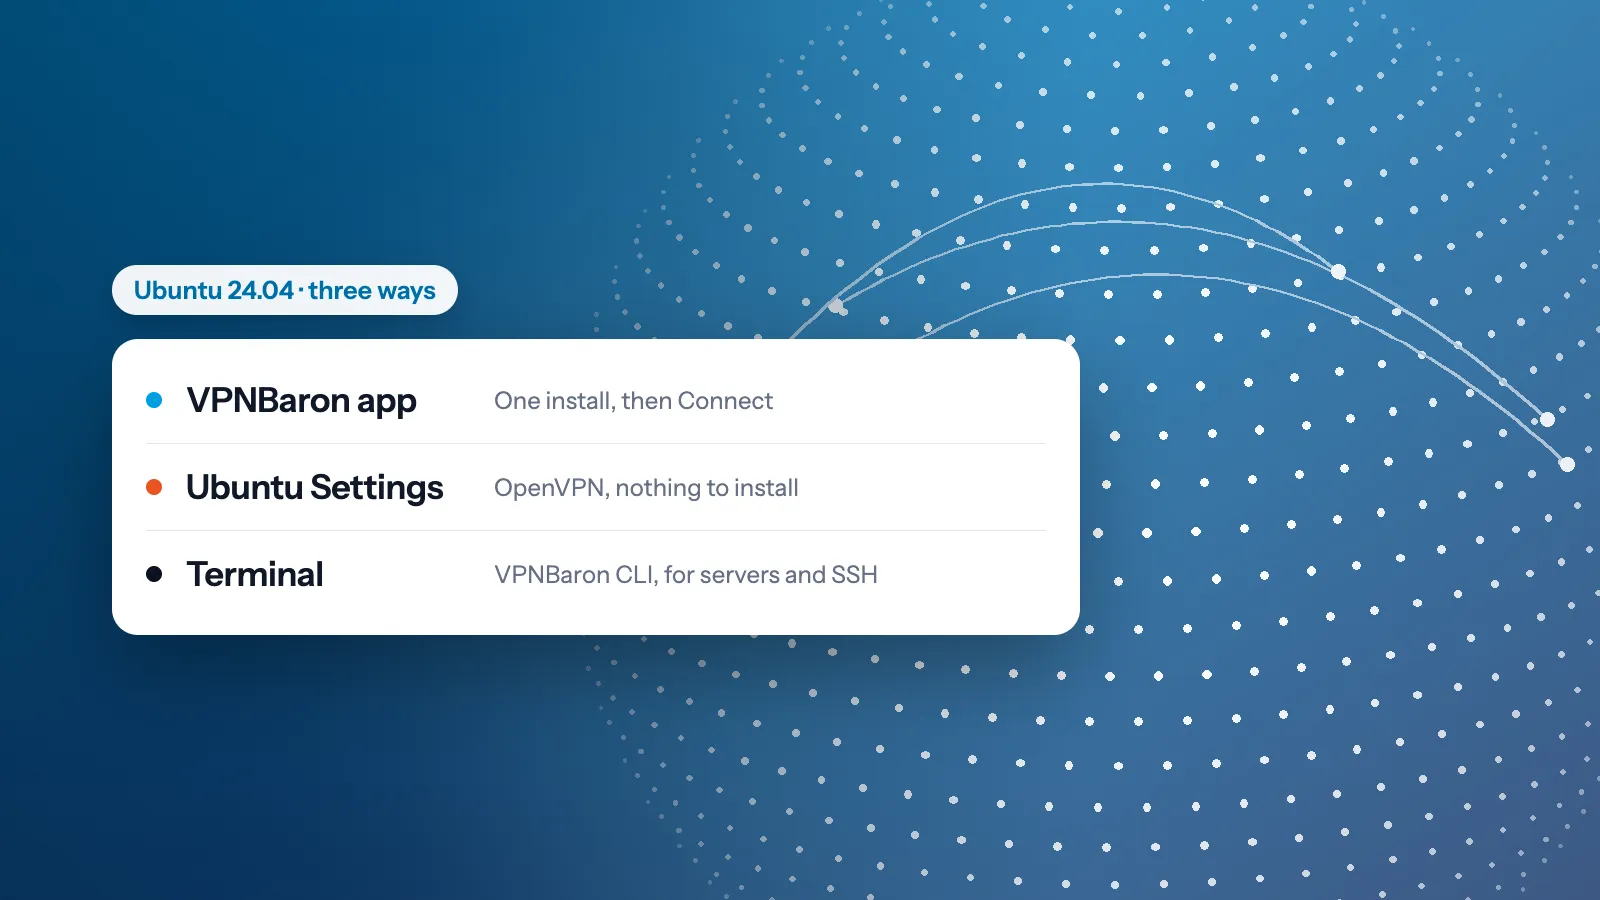
Ubuntu gives you three ways to run a VPN: an app, the VPN support built into Settings, or the terminal. They all send your traffic through the same servers; what differs is how much they do for you. We set up all three on Ubuntu 24.04 for this guide, and this is how they compare.
| VPNBaron app | Ubuntu Settings | Terminal (VPNBaron CLI) | |
|---|---|---|---|
| Best for | Most people, on a desktop | Not installing anything | Servers, SSH sessions, scripts |
| You need | One install command | A config file and your VPN login | The same install as the app |
| Stealth protocols for networks that block VPNs | Yes, picked for you | No (OpenVPN only) | Yes |
| Kill switch | Yes | No | No |
1. The VPNBaron app: the easiest
Open a terminal (Ctrl+Alt+T) and run the installer. It picks the package for your computer, checks it and installs it with everything it needs:
sudo apt install -y curl
curl -fsSL https://vpnbaron.com/download/linux/install.sh | sh
Then open VPNBaron from your apps, sign in, pick a location and select Connect.
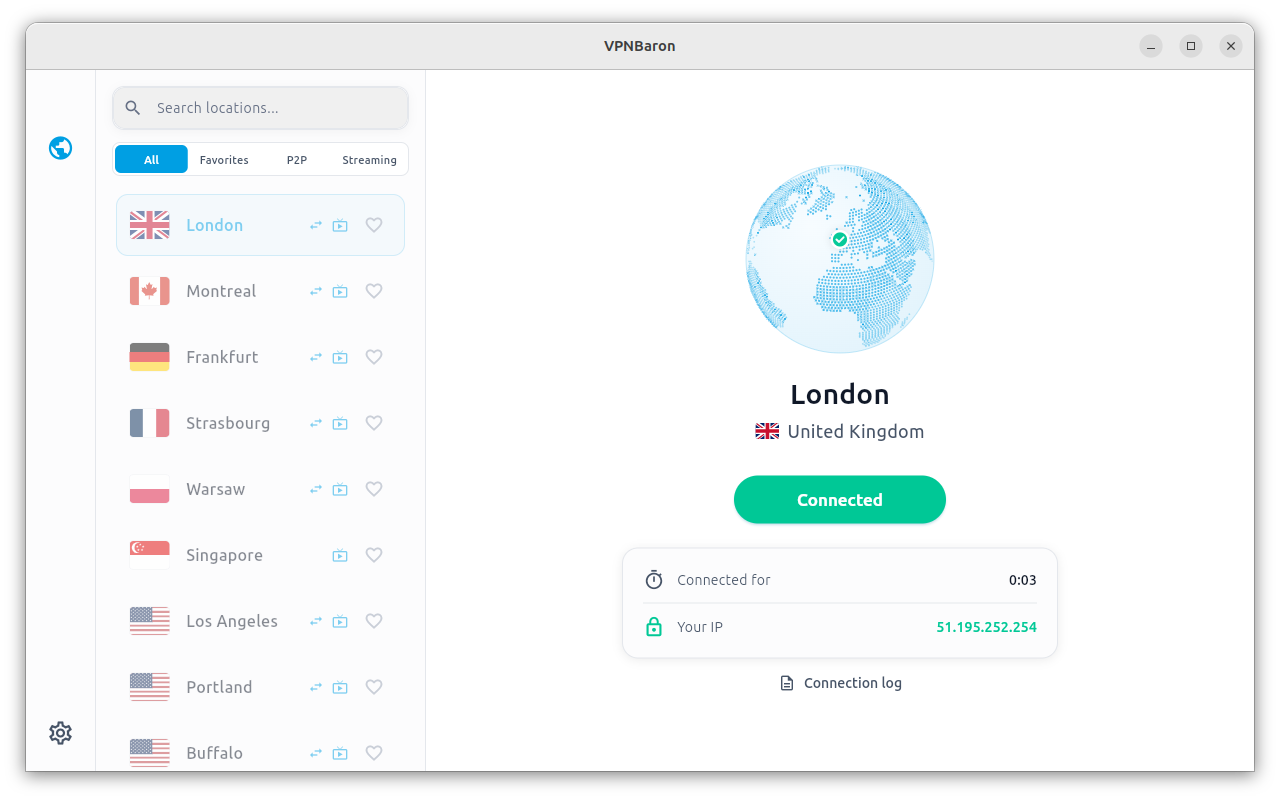
The app’s Baron Pathfinder tries the protocols on your network and keeps the one that works, including VLESS Reality and Hysteria2, the stealth protocols that get through networks that block ordinary VPNs. It also has a kill switch that blocks your internet if the VPN drops. The full walkthrough, with every screen, is in the VPNBaron for Linux guide.
2. Ubuntu’s Settings: nothing to install
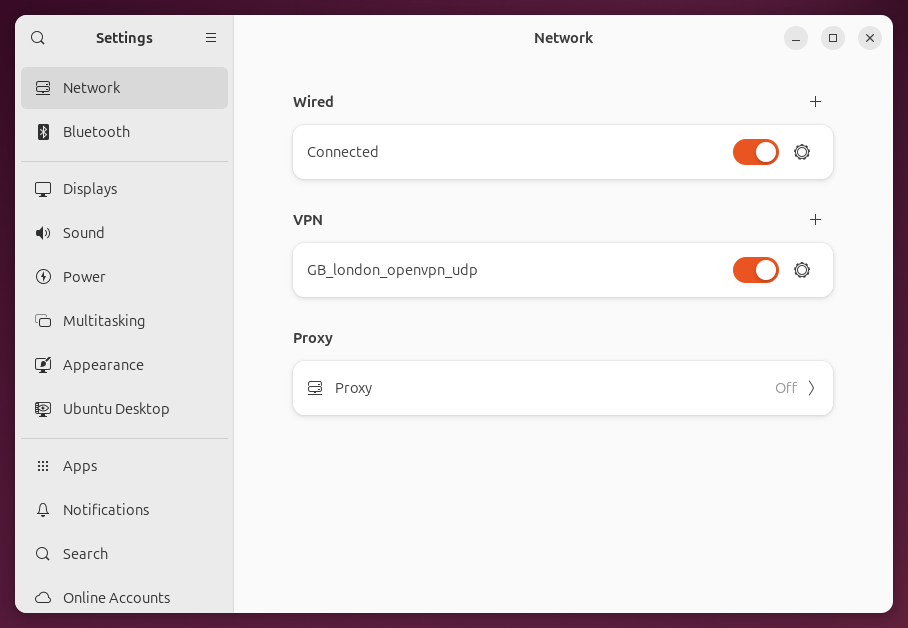
Ubuntu can connect with OpenVPN on its own. Download a config file from the OpenVPN page of your VPNBaron account, then in Settings → Network, select + next to VPN, choose Import from file… and pick the file. On the Identity tab, enter your VPN username and password (from the same page; they’re not your website login) and select Add. Switch it on:
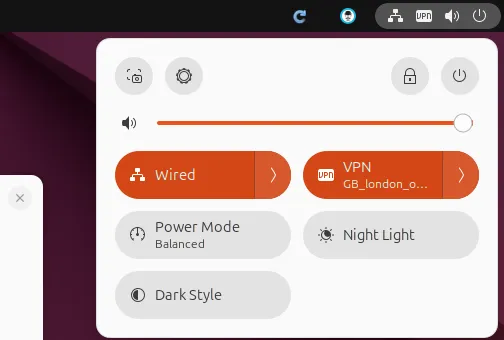
From then on it’s in the menu in the top right, one click to switch on or off.
The catch: OpenVPN is the protocol networks block most easily, and Settings has no stealth fallback and no kill switch. Step by step with every screenshot: OpenVPN on Ubuntu with Settings. Prefer IKEv2? It works the same way after you install the strongSwan plugin: IKEv2 on Linux.
3. The terminal: VPNBaron CLI
The same install gives you VPNBaron CLI. Sign in once with a code from your email, then connect to any location by its ID:
$ vpnbaron login
$ vpnbaron servers
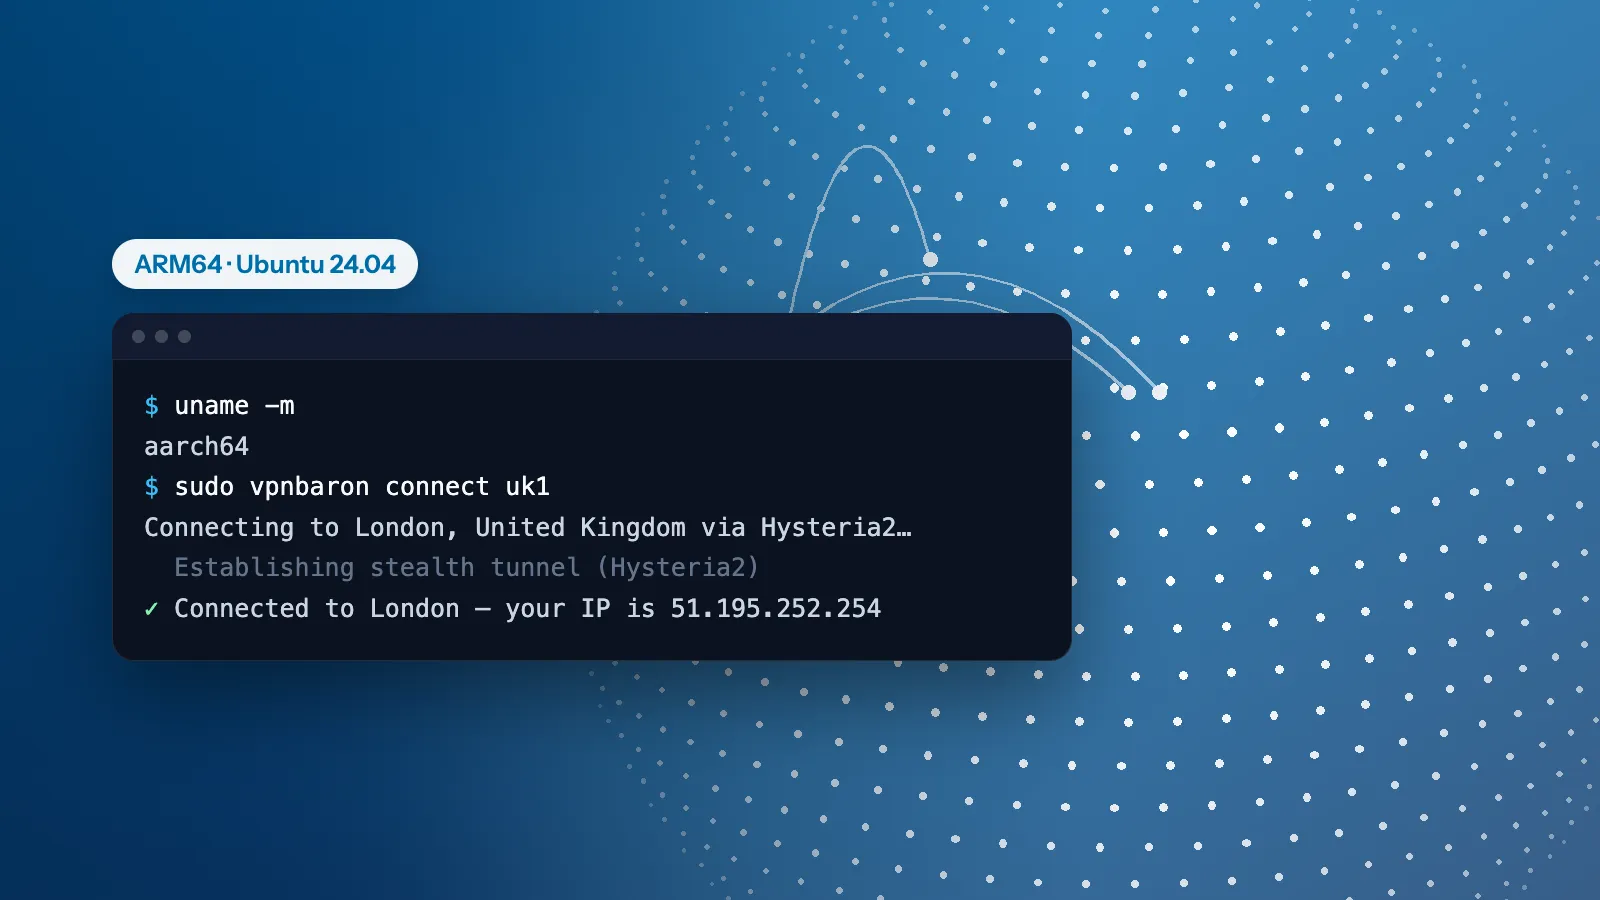
$ vpnbaron connect uk1
$ vpnbaron status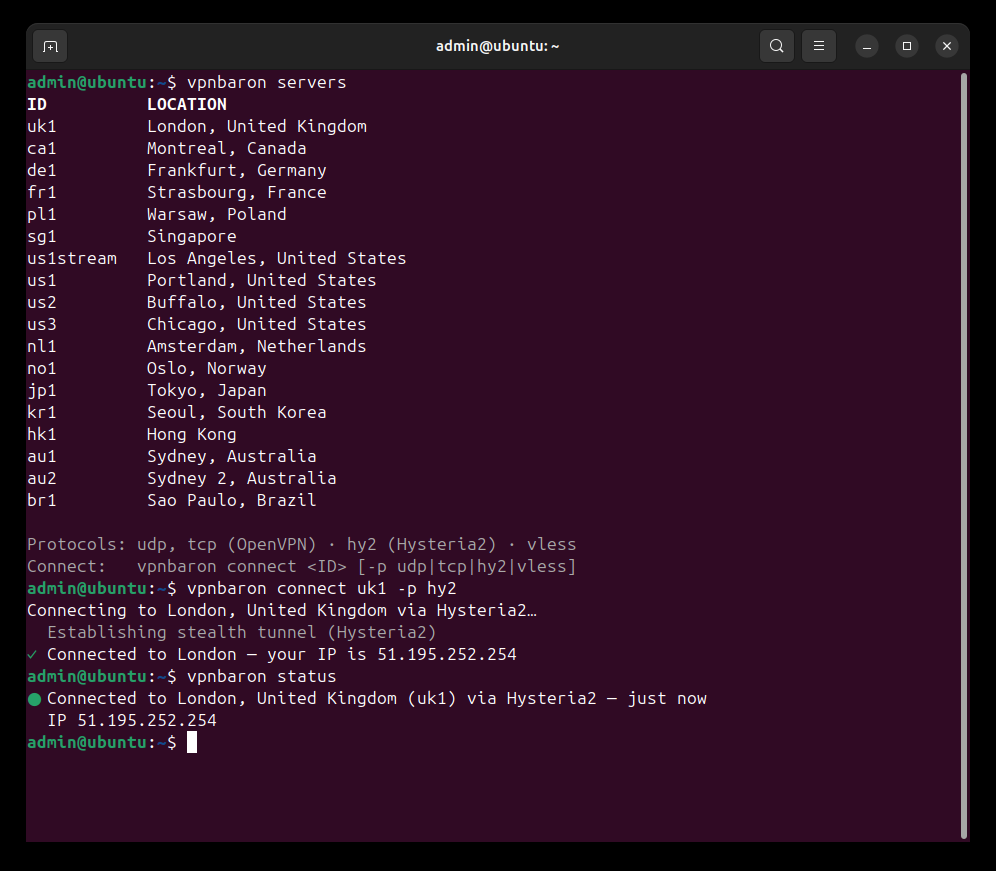
It’s the way to go on a server or over SSH, and it speaks the stealth protocols too (-p hy2 or -p vless). Every command is in the VPNBaron CLI guide. Running it on a remote server? How to run a VPN on an ARM server covers keeping your SSH session up. Prefer plain OpenVPN in a terminal: OpenVPN from the command line.
Which one should you use?
- On a desktop or laptop: the VPNBaron app. It’s the only one that picks a working protocol for you and has a kill switch.
- You don’t want to install anything: Settings with OpenVPN. Fine at home and on most networks; hotels, offices and some countries block it.
- On a server, over SSH, or in scripts: VPNBaron CLI.
You can mix them: the app and VPNBaron CLI share one connection, so connecting in one shows in the other.
Check that it works
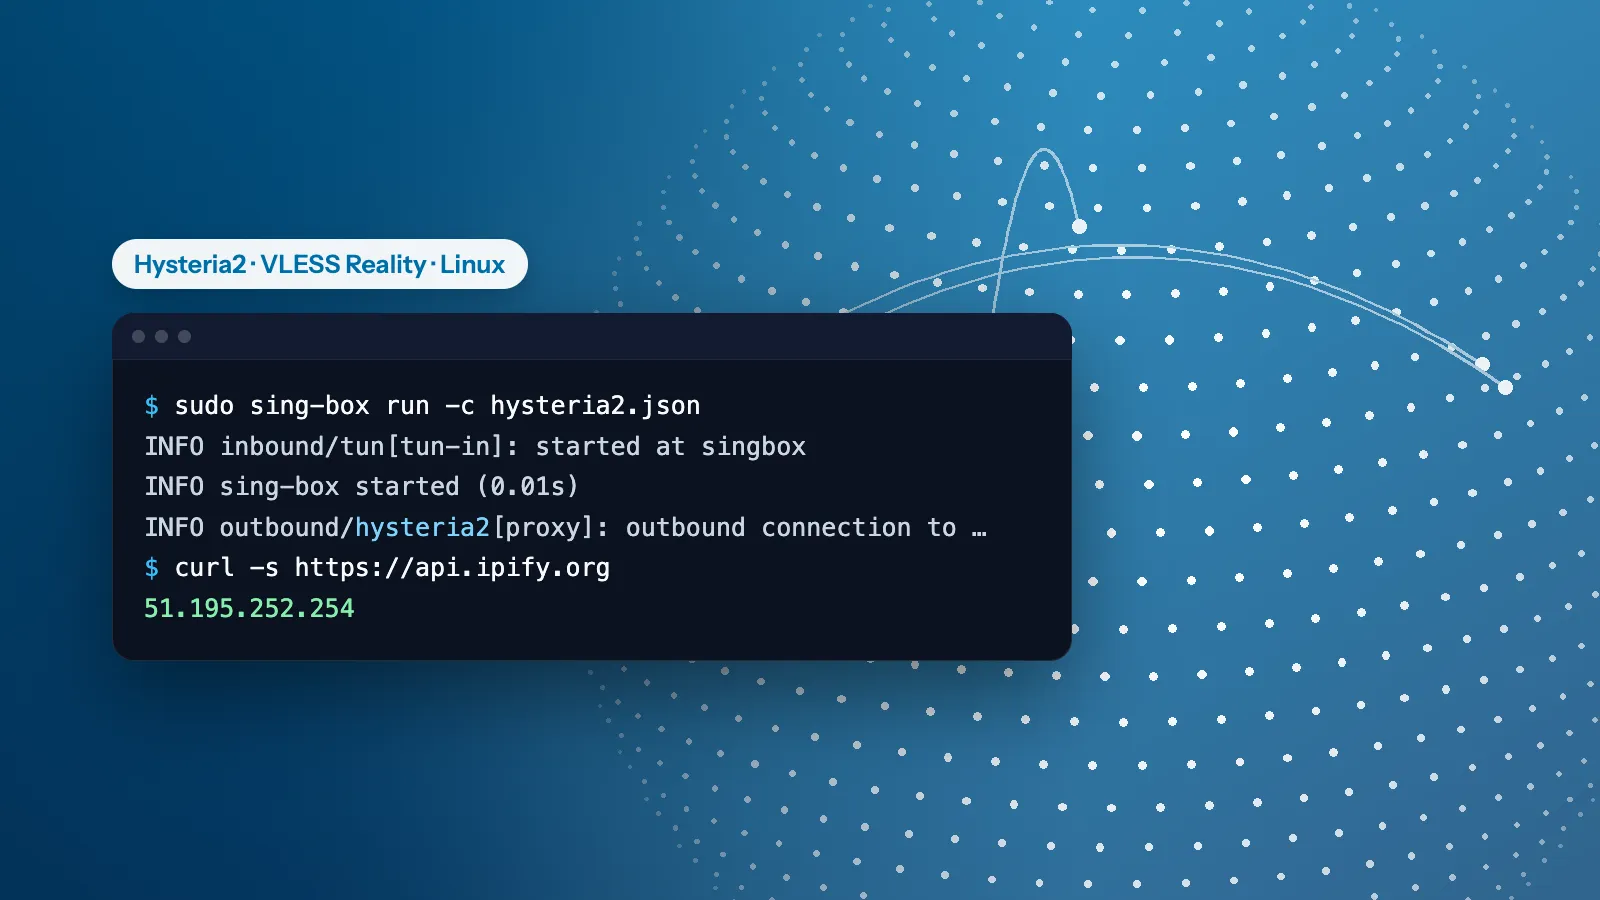
Whichever way you connected, open api.ipify.org in a browser, or run curl -s https://api.ipify.org in a terminal. It should show the VPN server’s address, not your own.
VPNBaron
One plan for Ubuntu and everything else
The VPNBaron app and VPNBaron CLI on Linux, plus the apps for Windows, Mac, iPhone and Android, with every location and the stealth protocols included.
More in Linux & servers·Related: VPNBaron for Linux