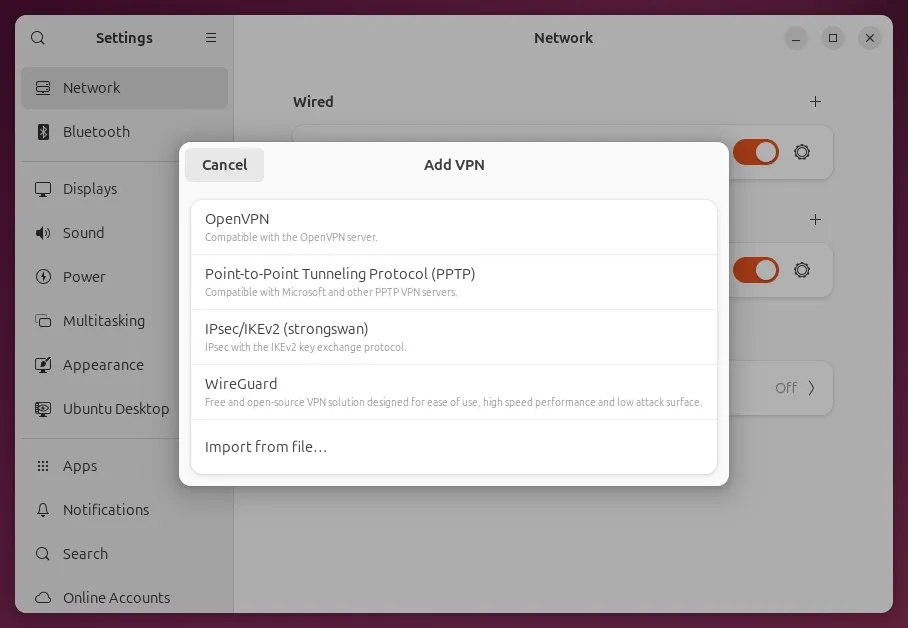
Desktop Linux speaks IKEv2 through strongSwan, and the friendliest way to drive it is its NetworkManager plugin: the VPN appears in Settings and in the menu in the top right, next to your other connections. We ran every step below on Ubuntu 24.04; other GNOME desktops look the same.
One setting people miss
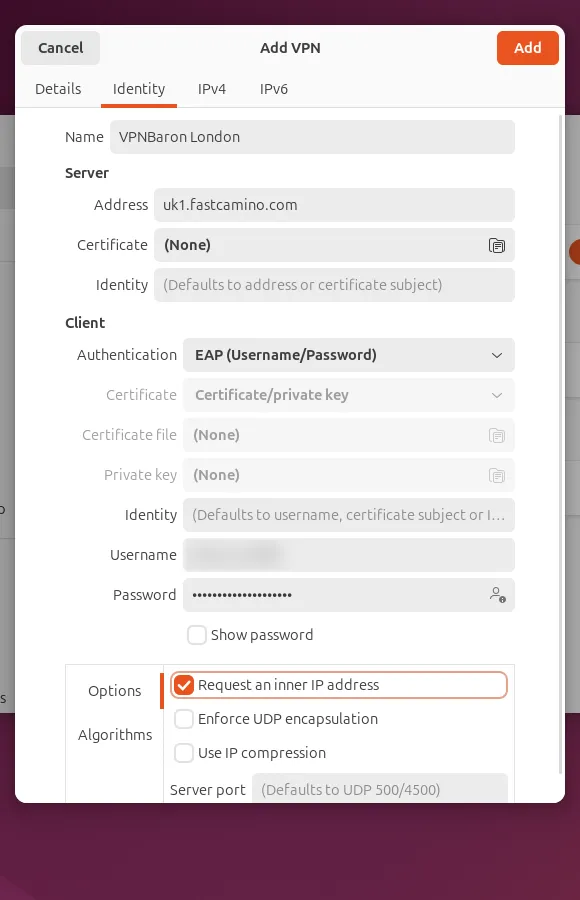
With default options the connection authenticates and then fails at the tunnel stage with FAILED_CP_REQUIRED / TS_UNACCEPT. The fix is a single checkbox, Request an inner IP address, covered in step 4. If you’re here because of that error, jump straight to it.
Password: the box starts greyed out. Select the icon at its right end, choose Store the password only for this user, then type your VPN password.
Tick “Request an inner IP address”
In the Options section at the bottom, tick Request an inner IP address. It starts unticked, and without it the server turns the tunnel down right after you sign in.
Add and connect
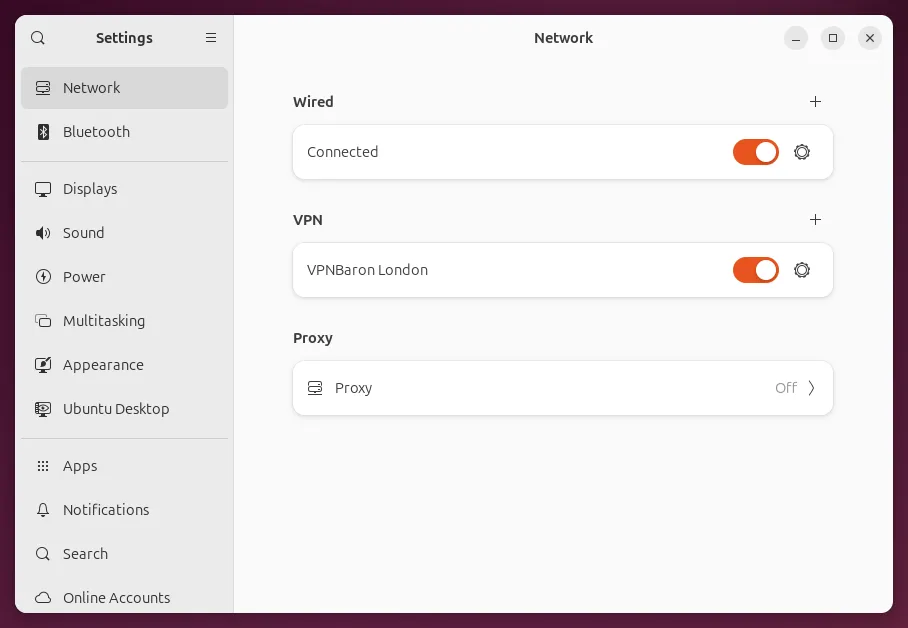
Select Add, then switch the VPN on.
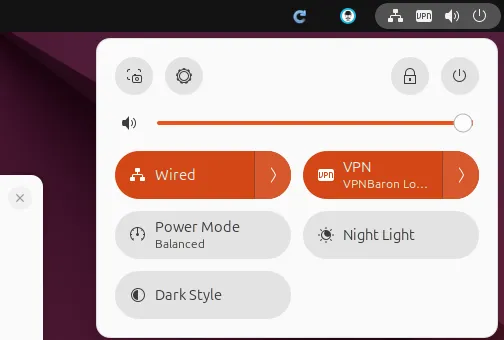
From now on you can switch it on and off from the menu in the top right.
Verify
From a terminal:
Terminal window
curl-shttps://api.ipify.org
resolvectldns
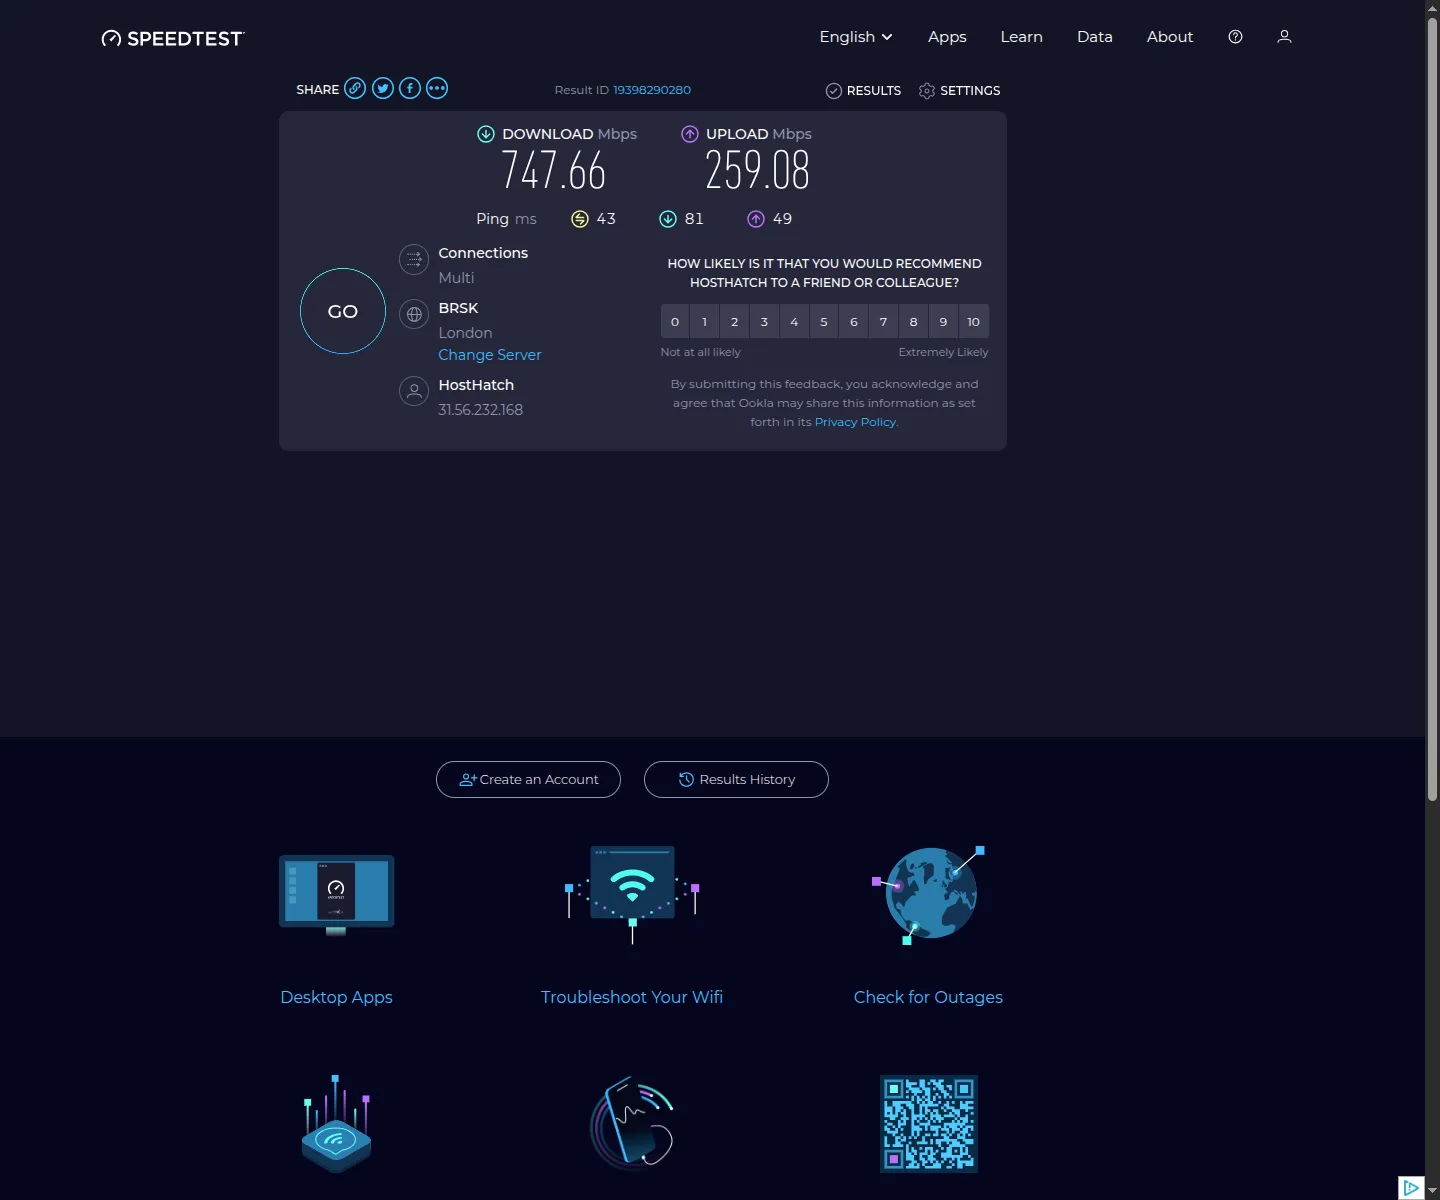
The first should print the VPN server’s address, not yours. The second lists the DNS servers: the VPN’s own resolver appears on the VPN interface (its name starts with nm-xfrm), so your lookups go through the tunnel. IKEv2 is a fast native protocol, so on a good line it barely dents your speed. Here’s a real result through the tunnel on a UK server:
Troubleshooting
Headless server instead?
Without a desktop, strongSwan is configured via swanctl.conf, which is its own rabbit hole. For servers we recommend VPNBaron CLI or the OpenVPN command line, or open a ticket and we’ll help with a swanctl config.