
Manual Setup: OpenVPN Connect
This guide will walk you through setting up a VPN connection using the official OpenVPN Connect client. We recommend using the official VPNBaron app for Windows for the simplest experience.
Manual Setup: OpenVPN Connect
This guide will walk you through setting up a VPN connection using the official OpenVPN Connect client. We recommend using the official VPNBaron app for Windows for the simplest experience.
Download OpenVPN Connect Download and install the official OpenVPN Connect client from their website.
Download Your VPN Configuration File Log in at vpnbaron.com and open the OpenVPN page. Each server row has two download links: UDP and TCP. Download the UDP config for the fastest speeds, or the TCP config if you’re on a network that blocks UDP (TCP works through most restrictive firewalls).
Import the Configuration File
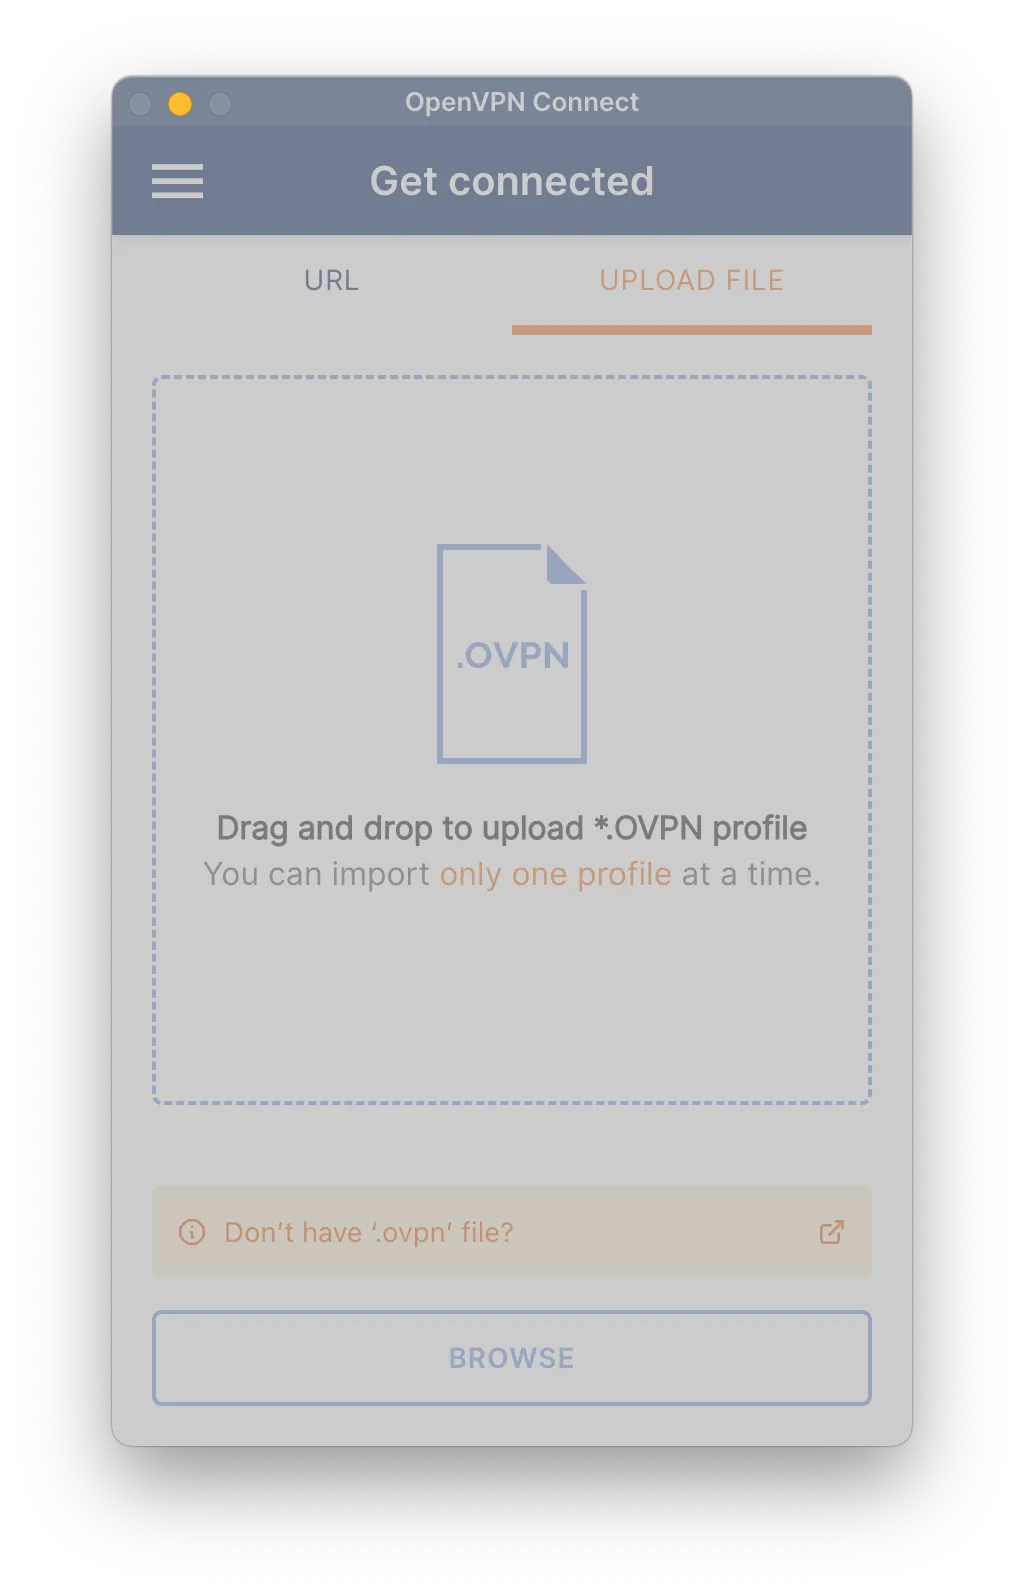
Open the OpenVPN Connect app. Go to the “Import Profile” screen and select the “File” tab. Drag and drop your downloaded .ovpn file into the app, or click “Browse” to locate it.
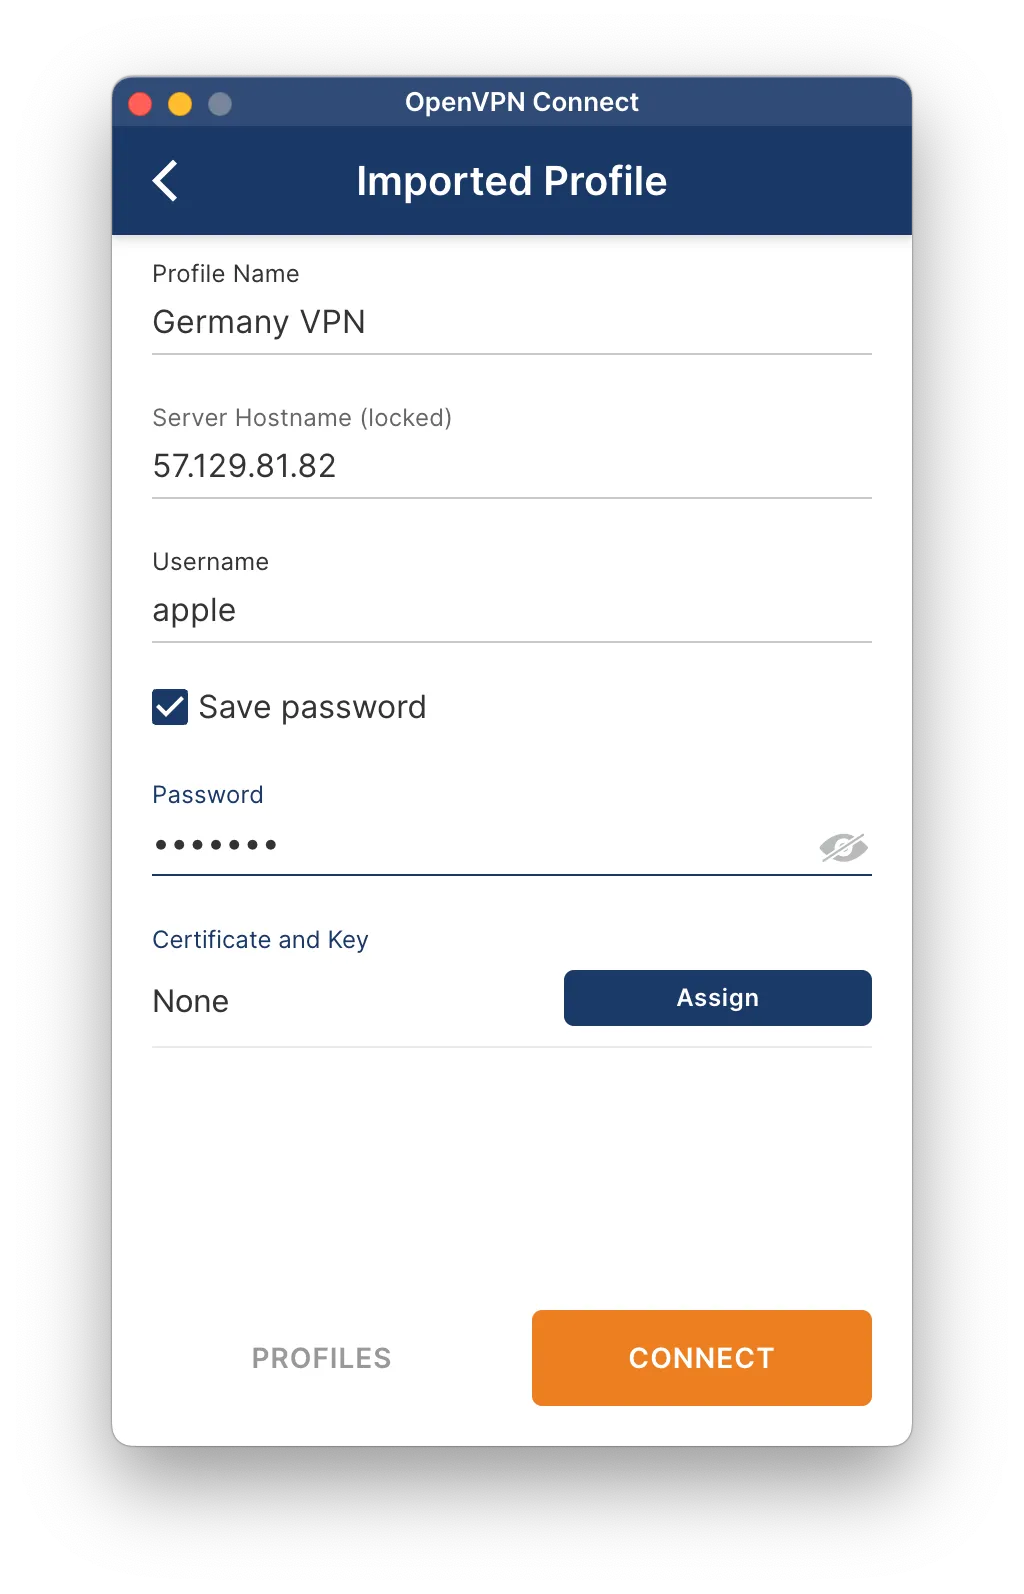
Enter Your Credentials Enter your VPN username and password. You’ll find them at the top of the same OpenVPN page, with copy and reveal buttons. These VPN credentials are separate from your website login. You can also check “Save password” for convenience. Click “Connect”.
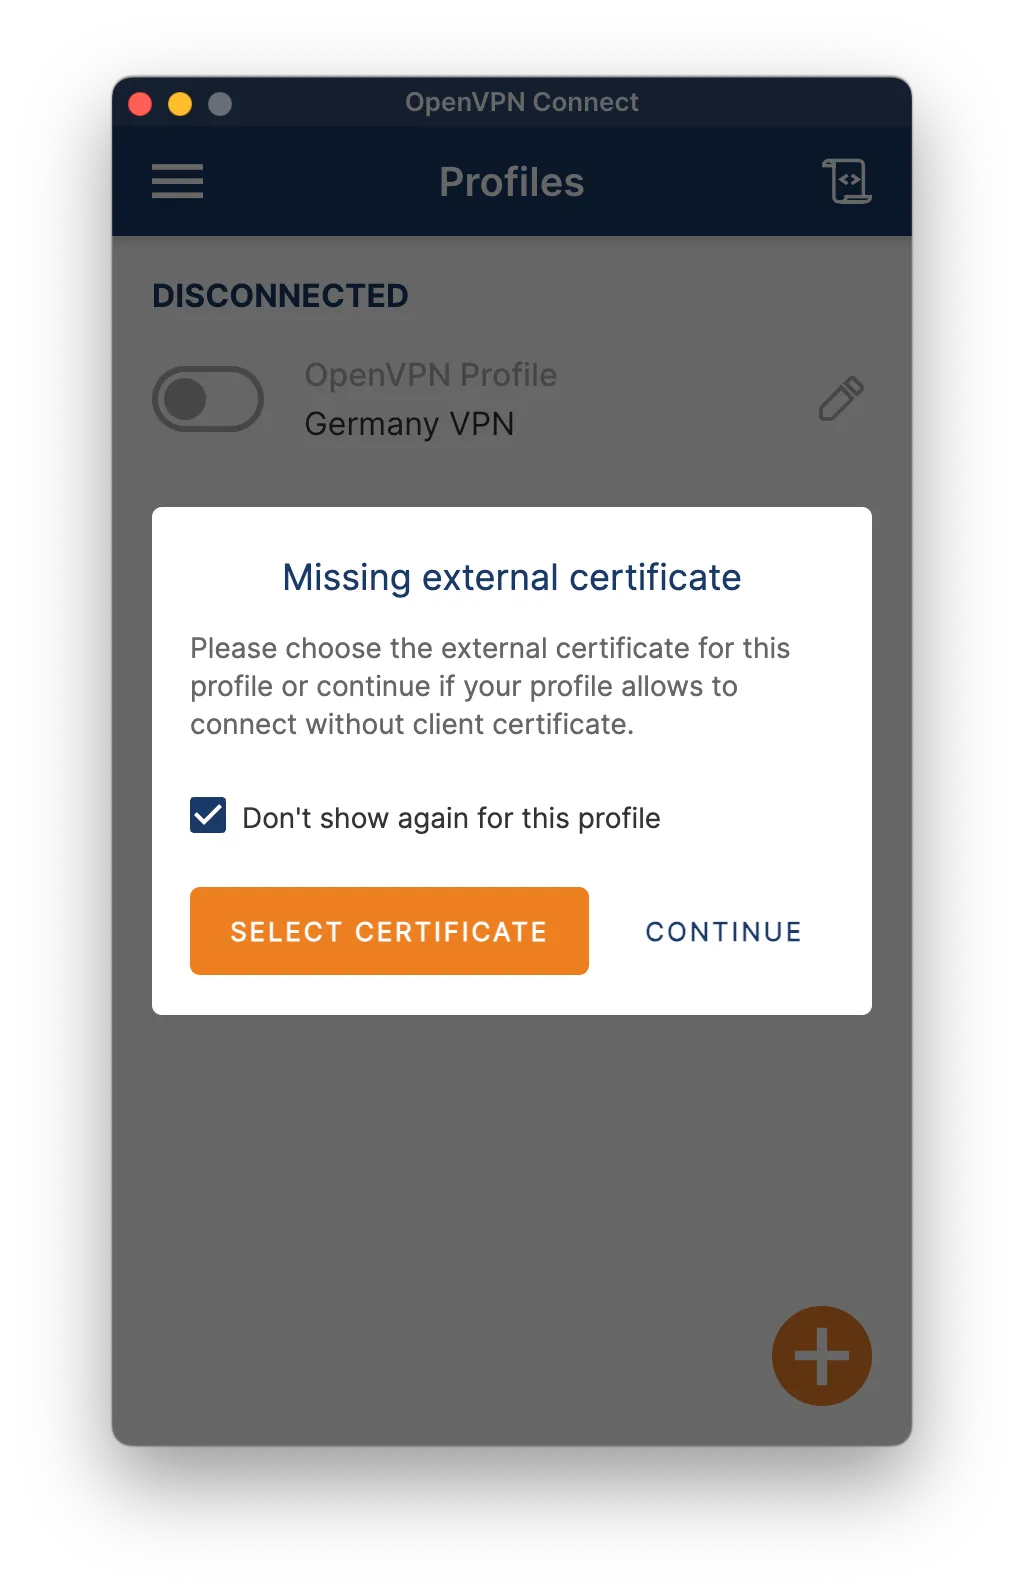
Confirm the Connection A certificate warning may appear. This is normal. Click “Continue” to proceed.
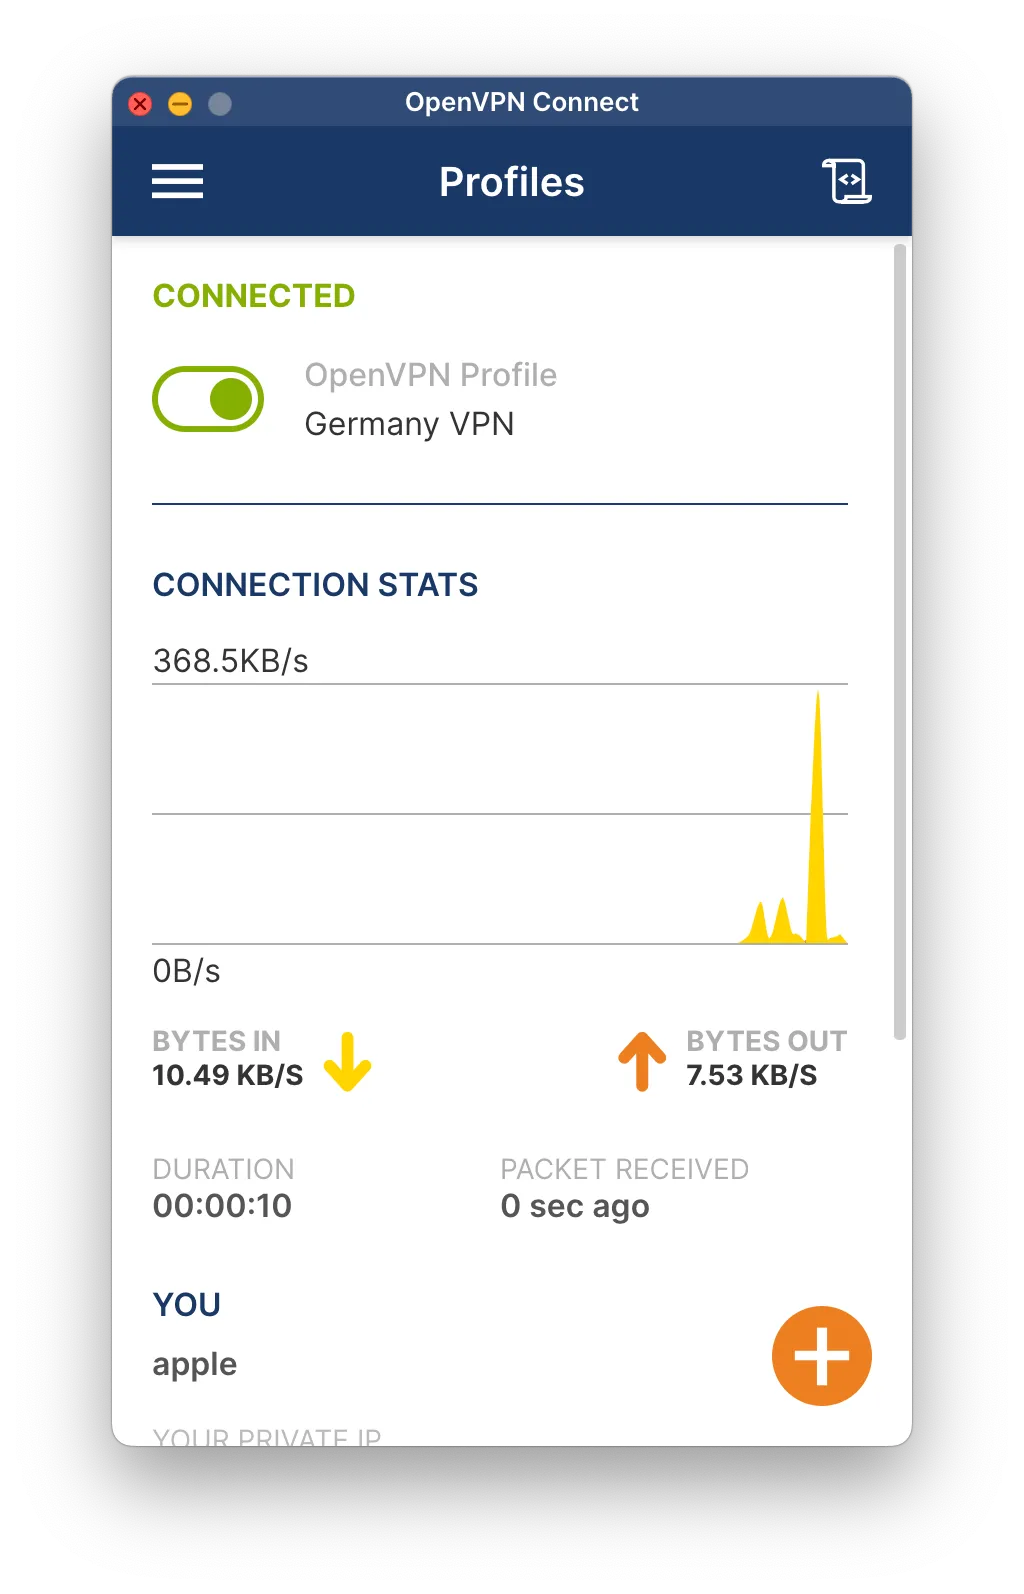
You’re Connected! The app will now show that you are connected, along with your new IP address and connection details.