OpenVPN from the Command Line (Linux, macOS, Windows)
For headless servers, Raspberry Pis, scripts, or anyone who just prefers a terminal: OpenVPN’s command line is the same everywhere. One command connects, and the only real differences between systems are how you install the client and whether you run it as a service. We ran every Linux step below on Ubuntu 24.04.
On a desktop?
The native VPNBaron app is the easier path on Windows, macOS and Linux, with Baron Pathfinder switching protocols automatically. On Linux it also gives you VPNBaron CLI, which connects from a terminal in one command, without any config files.
Setup
Get a config file
Log in at vpnbaron.com/openvpn and download a config for the server you want: UDP (faster, the default choice) or TCP (firewall-friendly fallback). For a remote machine, download locally and copy it over with scp.
Install the community OpenVPN package; it ships openvpn.exe. Run the commands below from an elevated PowerShell or CMD.
Connect
In the folder with your config file:
Terminal window
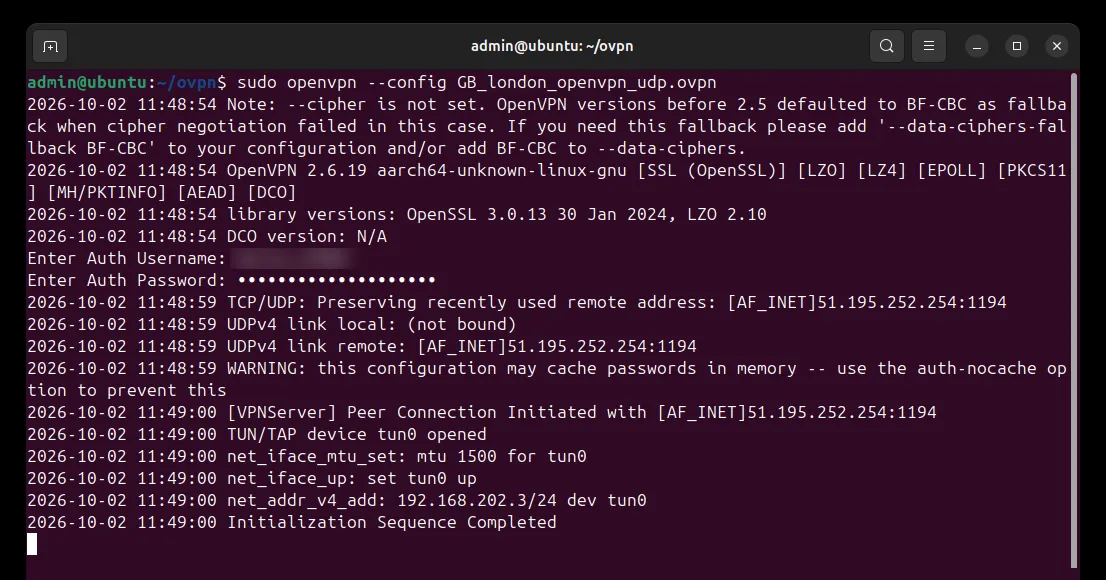
sudoopenvpn--configGB_london_openvpn_udp.ovpn
You’ll be asked for your VPN username and password: they’re on the same OpenVPN page, top card, and they are separate from your website login. The tunnel is up when the log prints Initialization Sequence Completed. Stop it with Ctrl+C.
Verify
From a second terminal:
Terminal window
curl-shttps://api.ipify.org
If it prints the server’s address, not yours, you’re tunnelled. On Ubuntu and Debian, do the DNS fix below too.
Fix DNS on Ubuntu and Debian
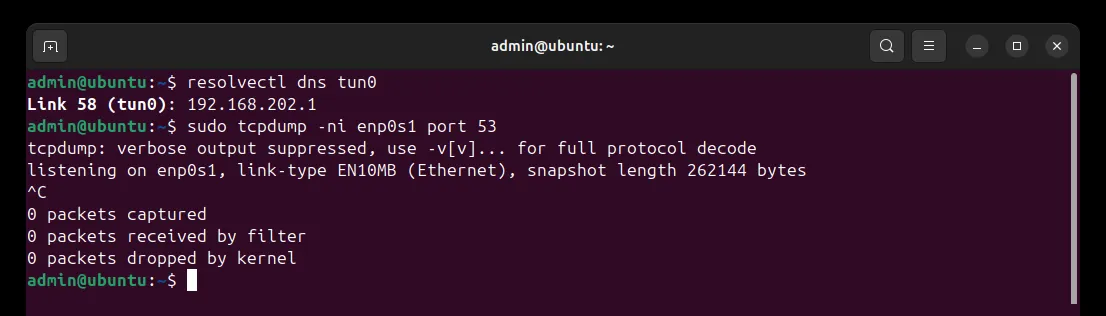
The server sends its own DNS resolver to the client, but plain openvpn on Ubuntu and Debian doesn’t apply it: your lookups keep going to your router or internet provider, outside the tunnel. We checked on Ubuntu 24.04: with the plain command, every lookup left on the normal network connection. To send them through the tunnel:
Install the helper (it may already be there):
Terminal window
sudoaptinstallopenvpn-systemd-resolved
Add these lines to the end of your .ovpn file:
script-security 2
up /etc/openvpn/update-systemd-resolved
down /etc/openvpn/update-systemd-resolved
down-pre
dhcp-option DOMAIN-ROUTE .
Connect again. To check, resolvectl dns tun0 should show the VPN’s resolver, and watching your real network connection for DNS while you browse should show nothing. Find its name with ip route show default (after dev), then:
Terminal window
sudotcpdump-nienp0s1port53
Open a few websites, then stop it with Ctrl+C:
Other distributions handle DNS differently; resolvectl status shows which resolver the tunnel is actually using.
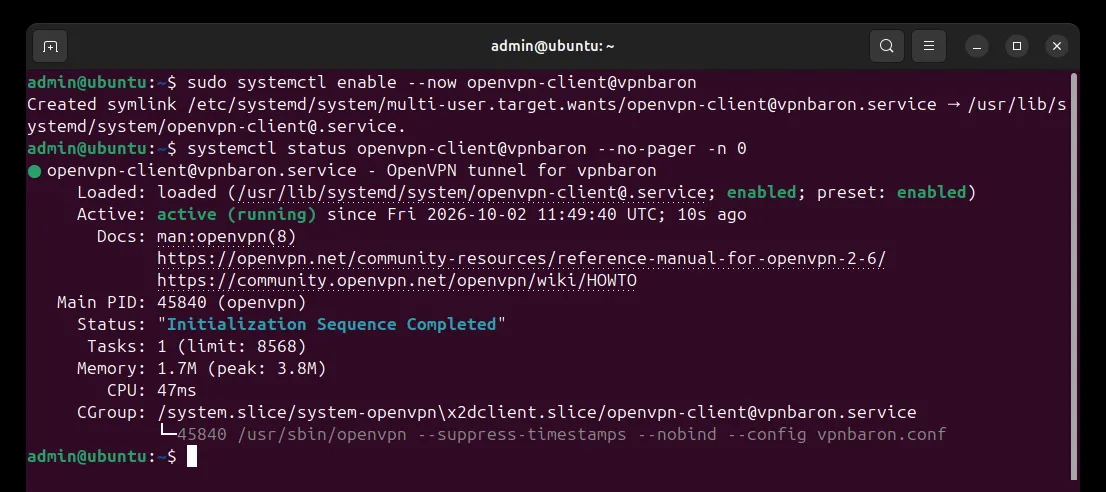
Unattended connections (no password prompt)
Put your username and password in a file only root can read: